How to draw a geometric eyeliner?
Nov 19, 2025
Hey there, makeup lovers! If you're anything like me, you've probably spent countless hours trying to perfect that sleek, geometric eyeliner look. It's one of those makeup skills that can take your everyday look to the next level, but it can also be a bit tricky to master. As an eyeliner supplier, I've seen firsthand how a great eyeliner can transform your eyes and make you feel like a total badass. So, today, I'm going to share with you my top tips on how to draw a geometric eyeliner like a pro.
Getting Started: Choosing the Right Eyeliner
Before we dive into the actual process of drawing geometric eyeliner, let's talk about choosing the right product. There are a few different types of eyeliners out there, each with its own pros and cons.
-
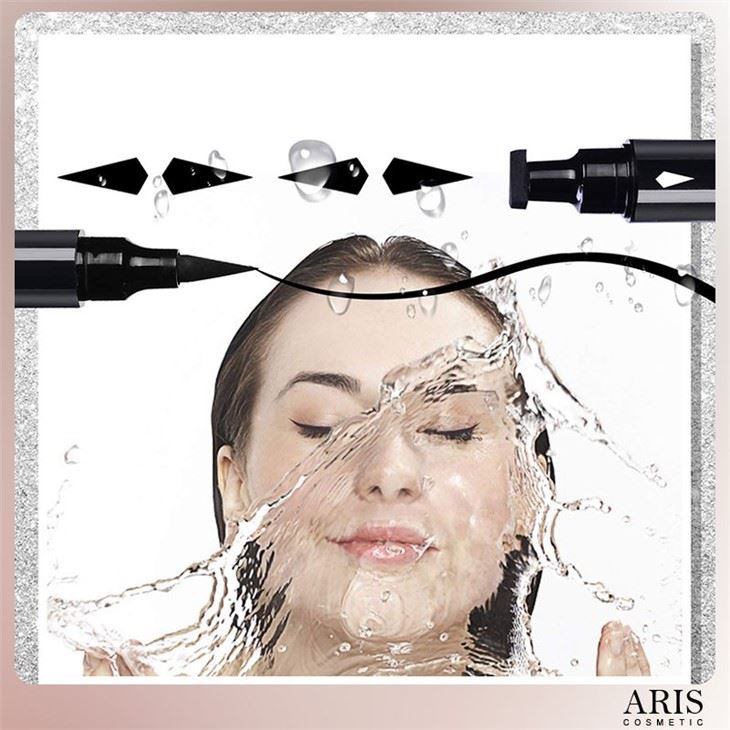
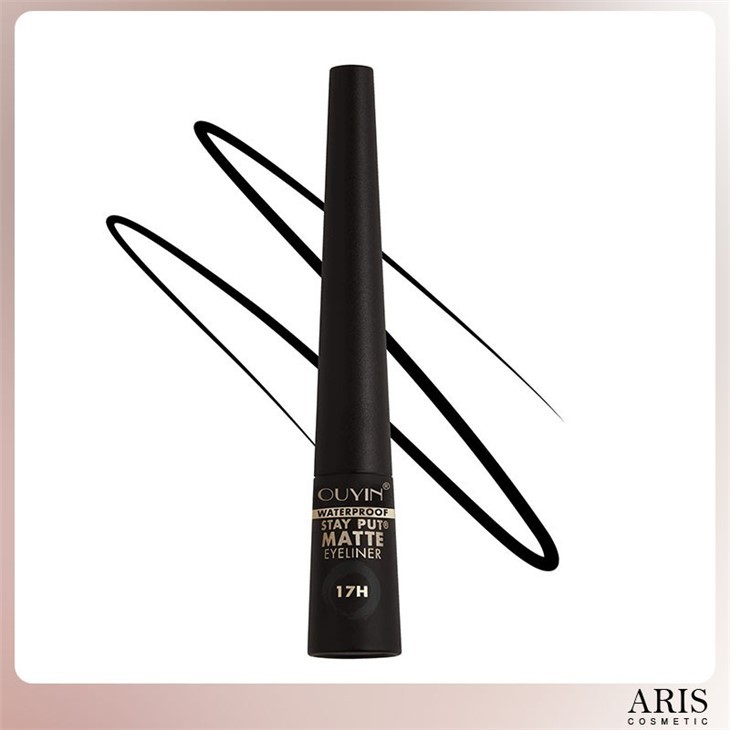
Liquid Eyeliner: This is my personal favorite for creating sharp, precise lines. Liquid eyeliners usually come with a fine tip brush or felt tip, which allows for easy application and control. If you're looking for a bold, long-lasting color, I highly recommend checking out our Dark Blue Liquid Eyeliner Color. It's a stunning shade that will make your eyes pop.
-
Pencil Eyeliner: Pencil eyeliners are great for beginners or for creating a more smudged, smoky look. They're easy to apply and can be sharpened for a precise tip. However, they may not last as long as liquid eyeliners and can sometimes smudge.
-
Gel Eyeliner: Gel eyeliners are a good middle ground between liquid and pencil eyeliners. They come in a pot and are applied with a brush, which allows for more control than a pencil but is still easier to work with than a liquid liner. Gel eyeliners are also very long-lasting and can be used to create both thin and thick lines.
-
Eyeliner Stamp: If you're really struggling with getting a perfect winged cat eye, an eyeliner stamp might be the solution for you. These handy tools come with pre-cut stencils that you can place on your eyelid and then fill in with eyeliner. Our Black Eyeliner For Perfect Winged Cat Eye is a great option for achieving that classic cat eye look with minimal effort.
Prepping Your Eyes
Once you've chosen the right eyeliner for your needs, it's time to prep your eyes for makeup application. This step is crucial for ensuring that your eyeliner goes on smoothly and lasts all day.
- Cleanse Your Skin: Start by cleansing your face and removing any dirt, oil, or makeup from your eyelids. This will help your eyeliner adhere better and prevent it from smudging.
- Prime Your Eyelids: Applying an eyeshadow primer or concealer to your eyelids will create a smooth base for your eyeliner and help it last longer. Simply apply a small amount of primer or concealer to your eyelids and blend it in with your finger or a brush.
- Choose Your Color: Depending on your skin tone, eye color, and personal style, you may want to choose a different eyeliner color. Black is a classic choice that looks great on everyone, but you can also experiment with other colors like brown, blue, green, or purple for a more unique look.
Drawing the Basic Geometric Shapes
Now that your eyes are prepped and you've chosen your eyeliner, it's time to start drawing! Here are some basic geometric shapes that you can use to create different eyeliner looks:
- Straight Line: The straight line is the most basic geometric shape and is a great place to start if you're new to drawing geometric eyeliner. To draw a straight line, hold your eyeliner brush or pen at a 45-degree angle and start at the inner corner of your eye. Then, draw a straight line along your lash line, following the natural shape of your eye. You can make the line as thin or as thick as you like, depending on your preference.
- Winged Line: The winged line is a classic eyeliner look that adds drama and definition to your eyes. To draw a winged line, start by drawing a straight line along your lash line, just like you did for the straight line. Then, at the outer corner of your eye, extend the line outwards at a 45-degree angle. You can make the wing as long or as short as you like, depending on your preference.
- Angled Line: The angled line is a more modern and edgy eyeliner look that adds a pop of color and personality to your eyes. To draw an angled line, start by drawing a straight line along your lash line, just like you did for the straight line. Then, at the outer corner of your eye, draw a diagonal line upwards towards your eyebrow. You can make the angle as sharp or as soft as you like, depending on your preference.
- Triangle: The triangle is a bold and dramatic eyeliner look that really makes your eyes stand out. To draw a triangle, start by drawing a straight line along your lash line, just like you did for the straight line. Then, at the outer corner of your eye, draw a diagonal line upwards towards your eyebrow. Next, draw a third line connecting the end of the diagonal line to the inner corner of your eye. You can fill in the triangle with eyeliner or leave it empty for a more subtle look.
Tips and Tricks for Perfecting Your Geometric Eyeliner
Drawing geometric eyeliner takes practice, but with these tips and tricks, you'll be a pro in no time!
- Use a Steady Hand: One of the most important things when drawing geometric eyeliner is to use a steady hand. If you're having trouble keeping your hand steady, try resting your elbow on a table or using a makeup brush holder to hold your eyeliner.
- Take Your Time: Don't rush the process of drawing your eyeliner. Take your time and make sure each line is straight and precise. If you make a mistake, don't worry! You can always use a cotton swab dipped in makeup remover to clean up any smudges or mistakes.
- Practice Makes Perfect: The more you practice drawing geometric eyeliner, the better you'll get. Try practicing on a piece of paper first before you apply it to your eyes. You can also watch tutorials on YouTube or follow makeup artists on Instagram for inspiration and tips.
- Experiment with Different Colors and Shapes: Don't be afraid to experiment with different colors and shapes when drawing geometric eyeliner. You can mix and match different colors to create a unique and personalized look. You can also try combining different geometric shapes to create more complex designs.
Maintaining Your Geometric Eyeliner
Once you've drawn your geometric eyeliner, you want to make sure it lasts all day. Here are some tips for maintaining your eyeliner:
- Set Your Eyeliner: After you've applied your eyeliner, set it with a translucent powder or eyeshadow to help it last longer. Simply apply a small amount of powder or eyeshadow over your eyeliner using a fluffy brush.
- Avoid Rubbing Your Eyes: Rubbing your eyes can cause your eyeliner to smudge or fade. Try to avoid rubbing your eyes throughout the day, and if you need to touch your eyes, use a clean tissue or cotton swab.
- Reapply as Needed: If your eyeliner starts to fade or smudge throughout the day, you can reapply it as needed. Just make sure to clean up any smudges or mistakes before reapplying.
Conclusion
Drawing geometric eyeliner is a fun and creative way to add some personality and flair to your makeup look. With the right tools, techniques, and practice, you can create a variety of different geometric eyeliner looks that will make your eyes stand out. As an eyeliner supplier, we're passionate about helping you find the perfect eyeliner for your needs. If you have any questions or would like to learn more about our products, please don't hesitate to contact us. We'd love to hear from you and help you achieve your dream makeup look!
References
- "Makeup 101: How to Draw Geometric Eyeliner" by Beauty Tutorials
- "The Ultimate Guide to Geometric Eyeliner" by Makeup Mag
- "Geometric Eyeliner: 5 Tips for Perfecting the Look" by Fashion Beauty Life